Initial Job Creation
In the Manage Job List view, click the "New Workflow" button located in the top right corner of the screen
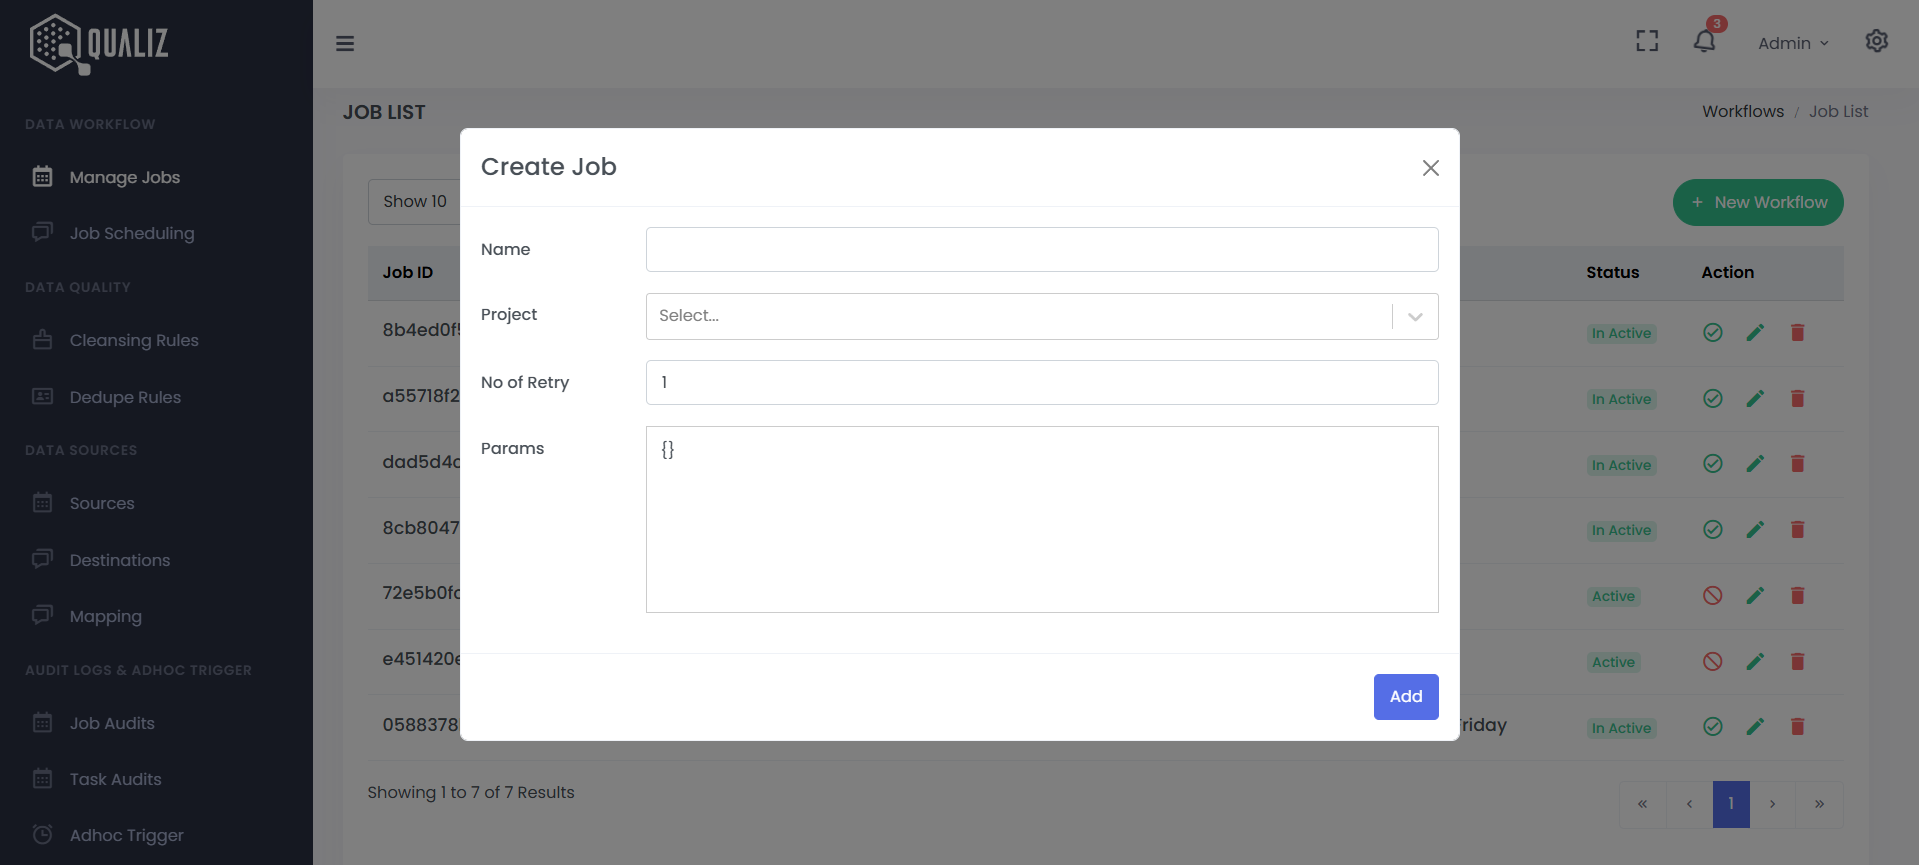
- After clicking "New Workflow", a "Create Job" modal appears
-
Fill out the "Create Job" modal that appears with these required fields:
- Name: Enter a descriptive name for your job
- Project: Select the appropriate project from the dropdown menu (your job will be organized under this project)
- No of Retry: Set the number of retry attempts (defaults to 1)
- Params: Add optional JSON parameters for your job if needed (in valid JSON format)
- Click the blue "Add" button to proceed to the job editor
Working in the Job Editor
After creating the job, you'll be taken to the job editor workspace where you can design your workflow.
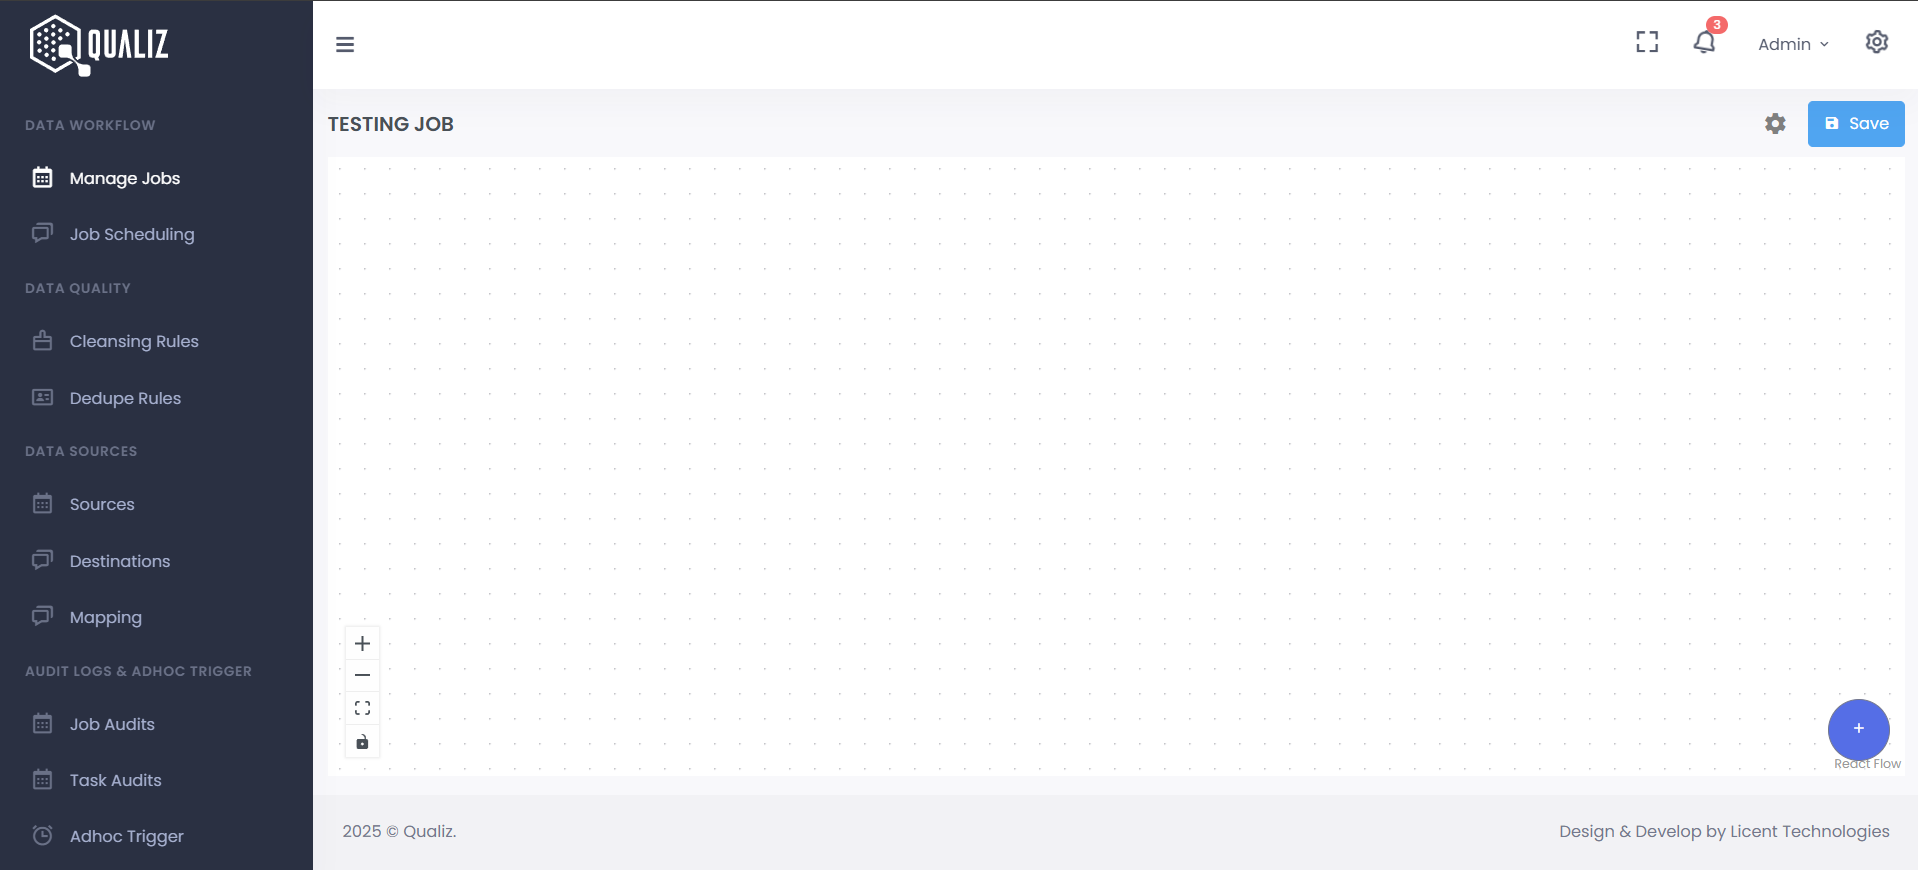
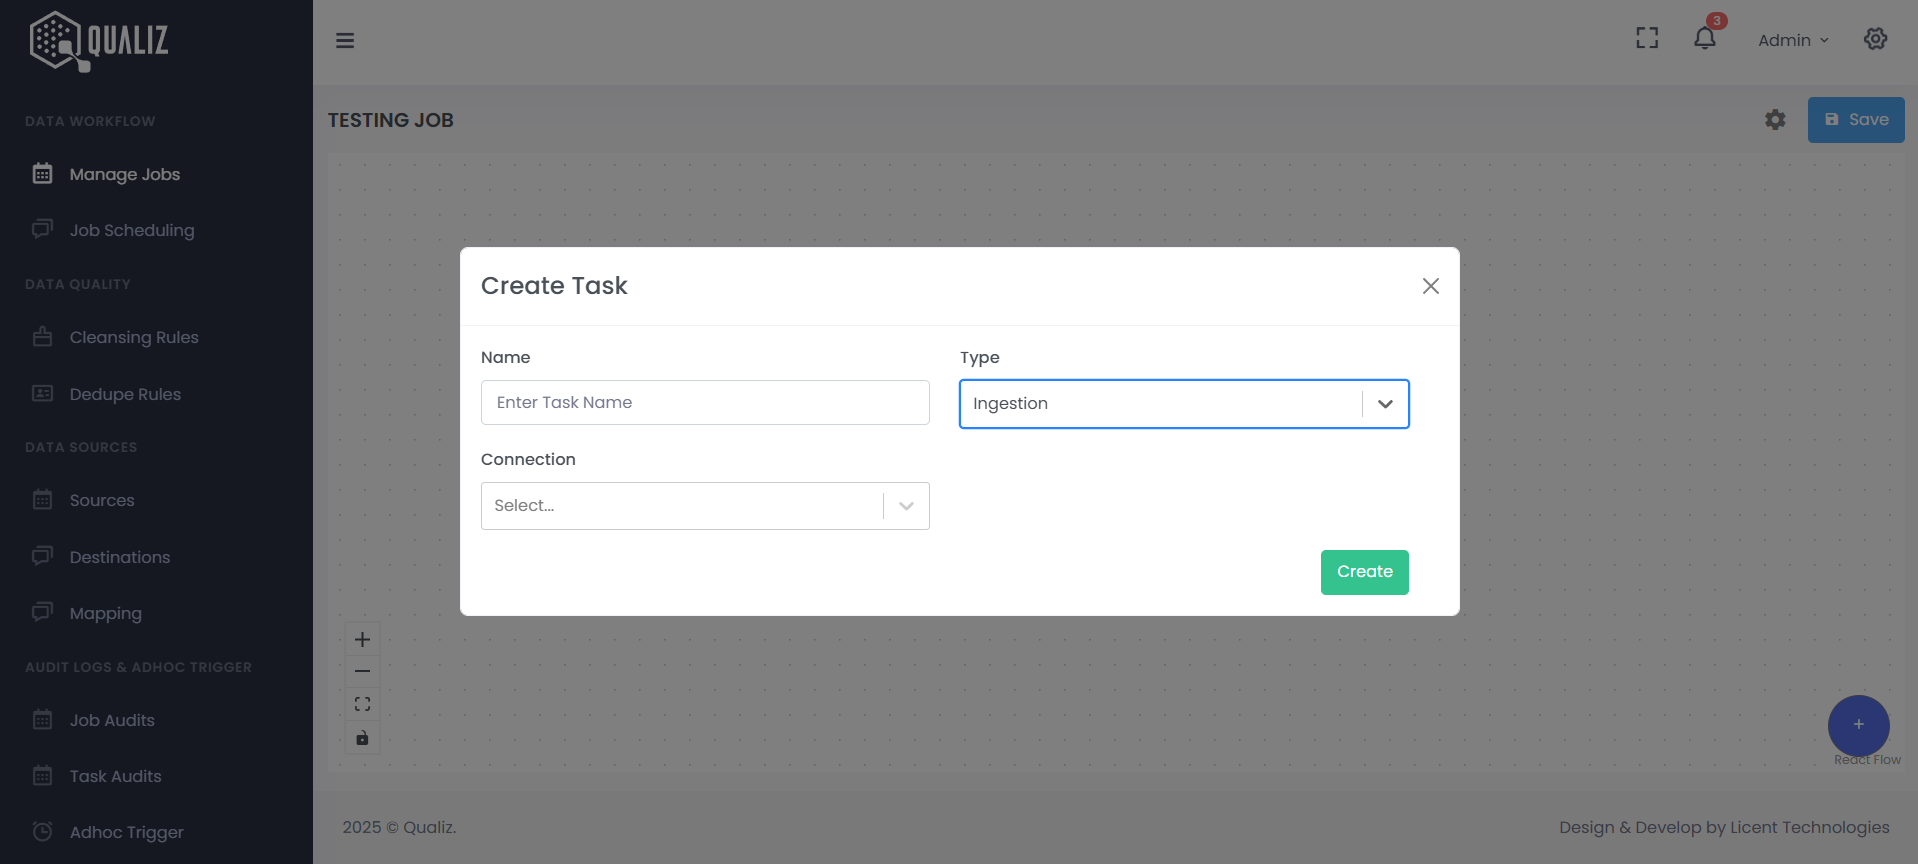
- Add tasks by clicking the "+" button in the bottom right corner of the editor
- This opens the "Create Task" modal where you can configure your workflow components
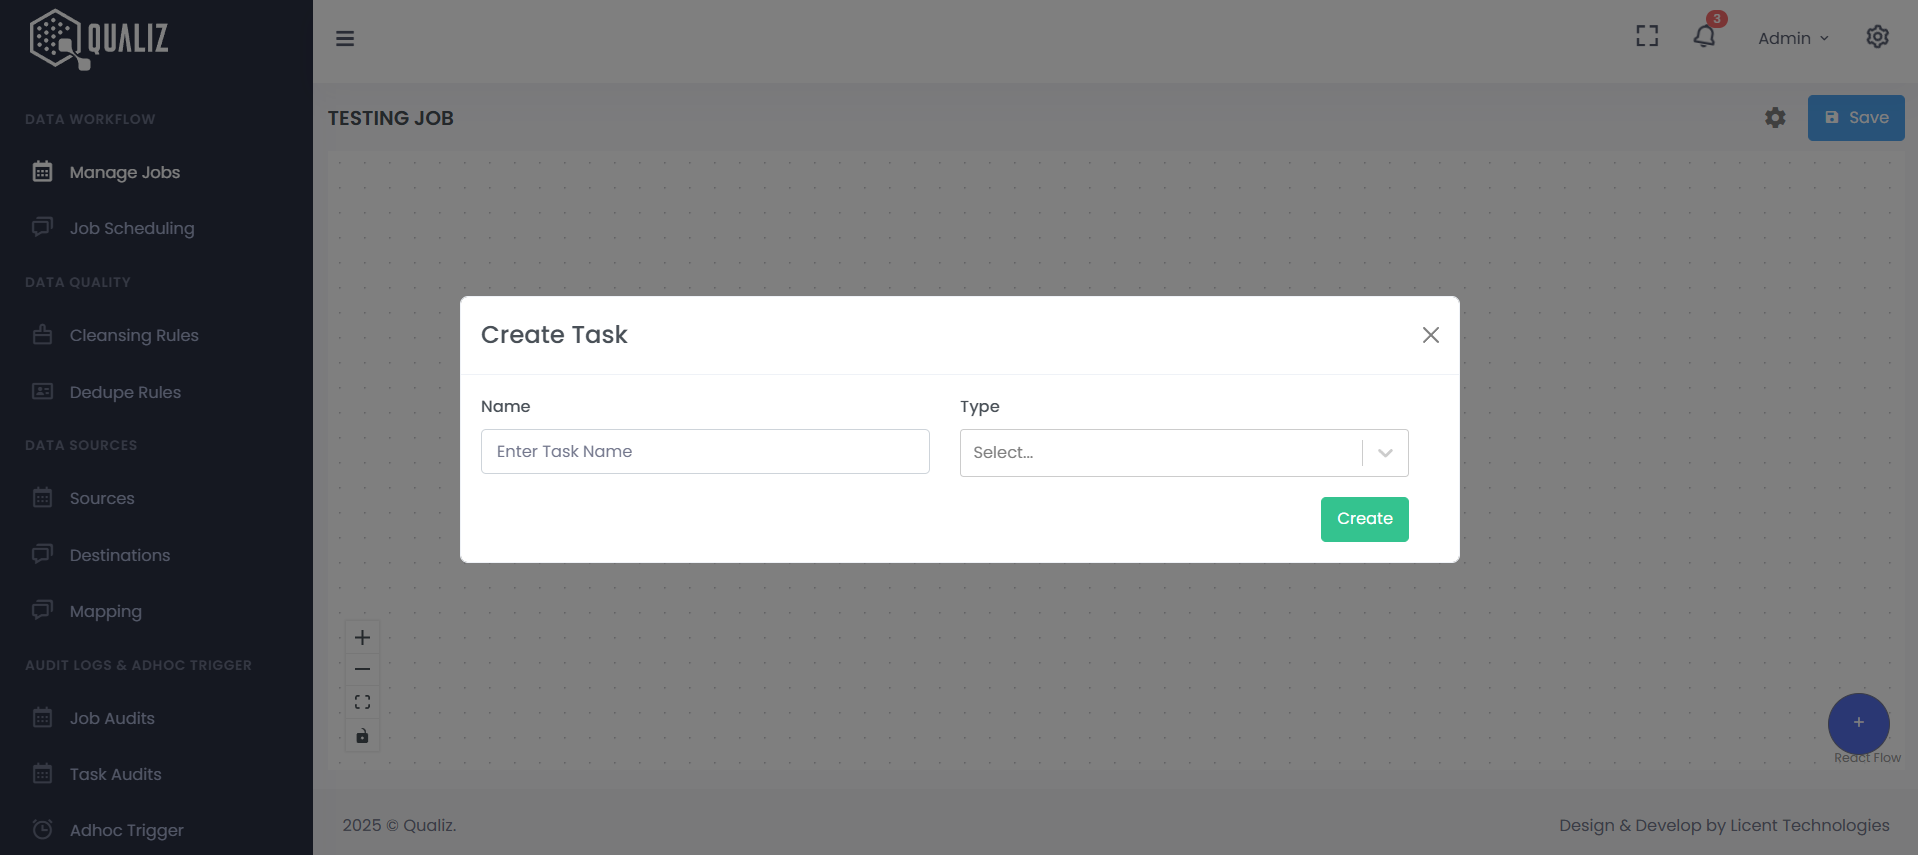
Task Types and Configuration
Qualiz offers multiple task types for different workflow needs:
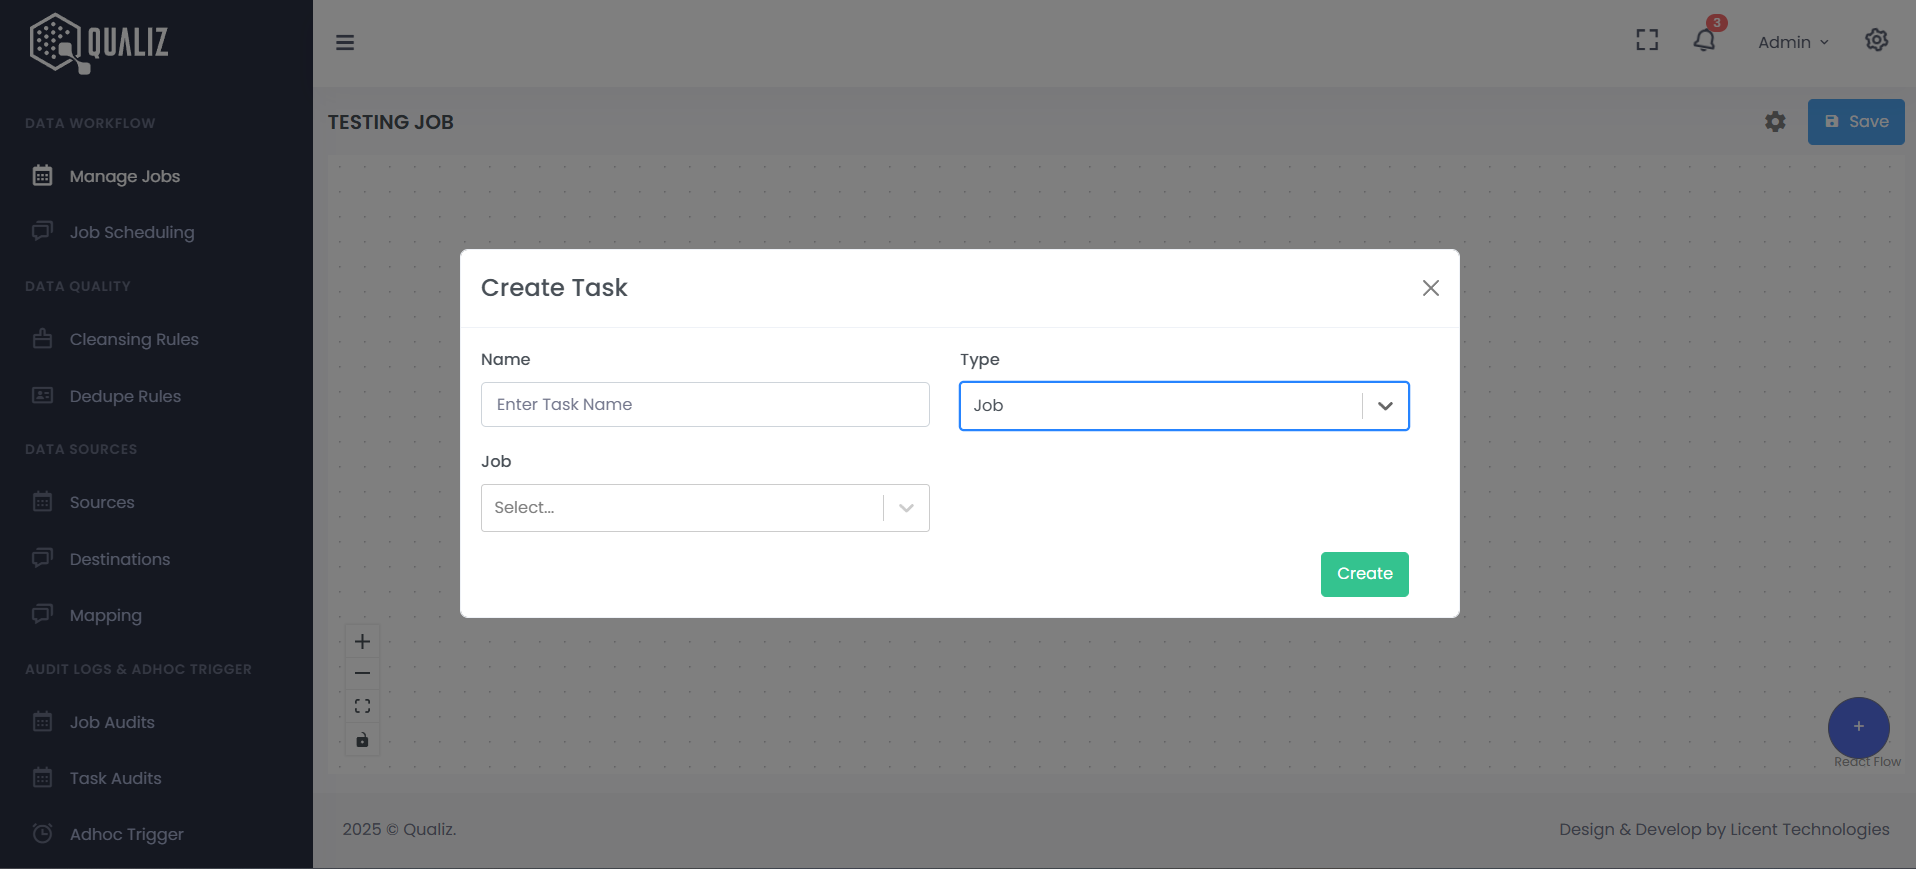
1. Job Task
- Allows you to run another existing job as a task within your current workflow
- Select the job you want to run from the available options
- This enables you to create nested workflows and reuse existing jobs
2. Ingestion Task
- Used to sync data from a source to a destination
- Configure the source (database, file system, API, etc.)
- Specify the destination where data should be loaded
- Set up mapping and transformation rules as needed
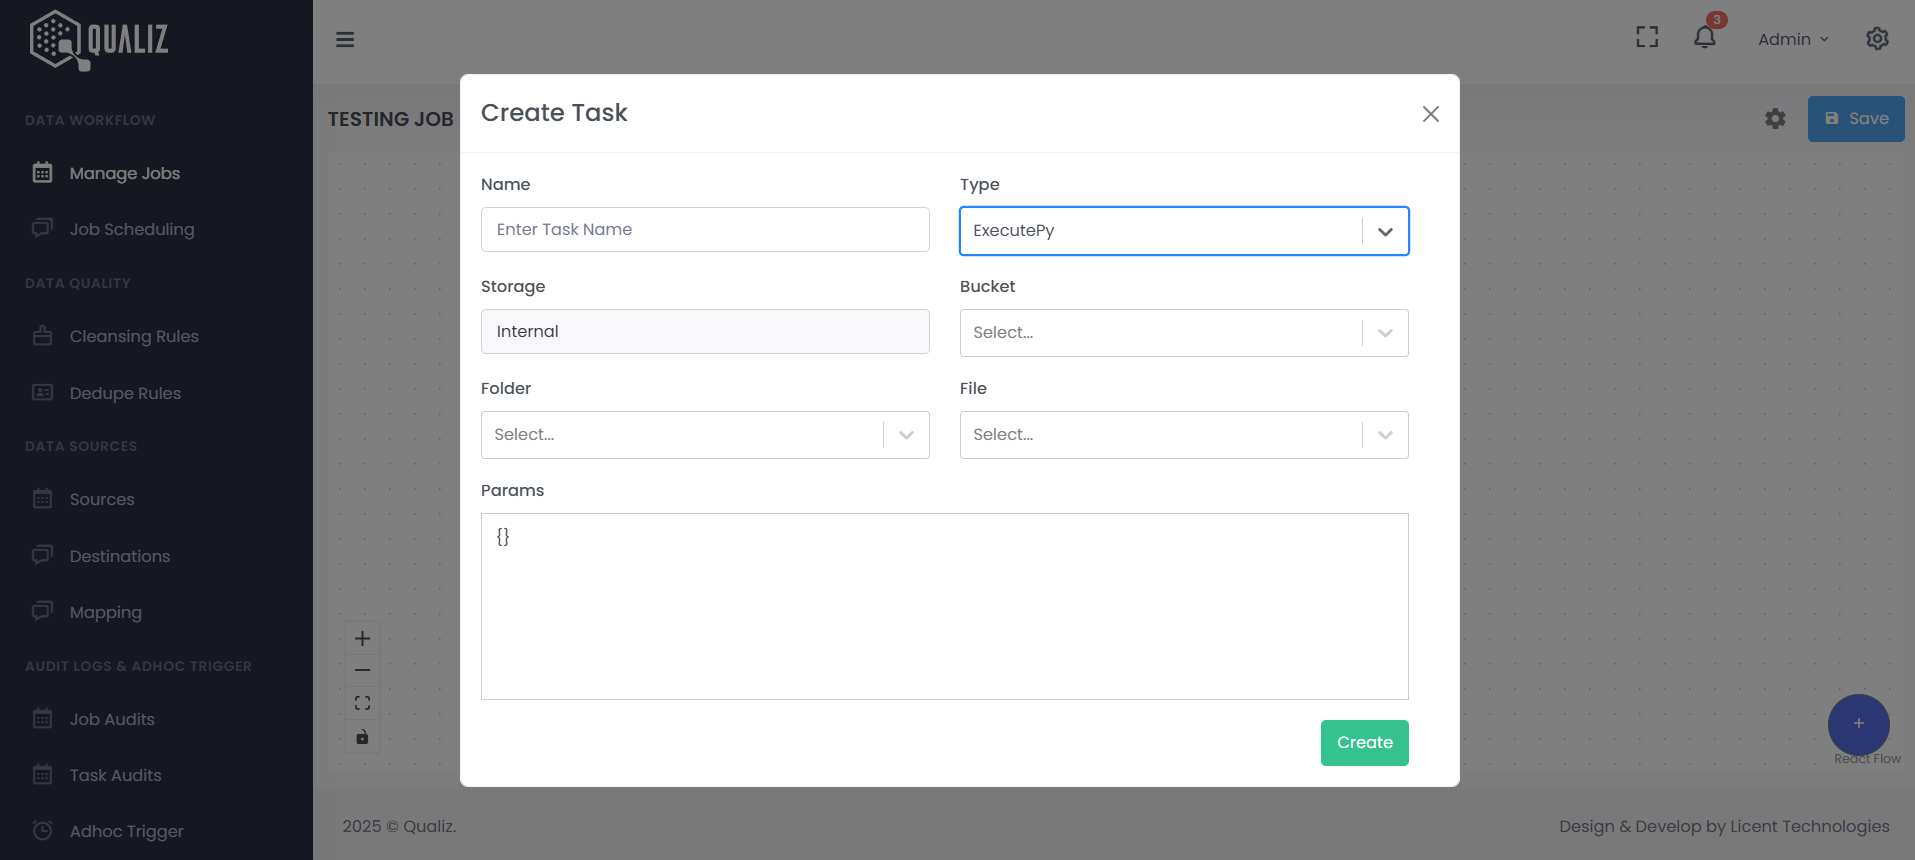
3. ExecutePy Task
- Enables running Python scripts on your data
- Input your Python code in the provided editor
- Specify any dependencies or requirements
4. ExecuteSQL Task
- Allows you to execute SQL queries on your data
- Input your SQL query in the provided editor
- Select the datasource to run against
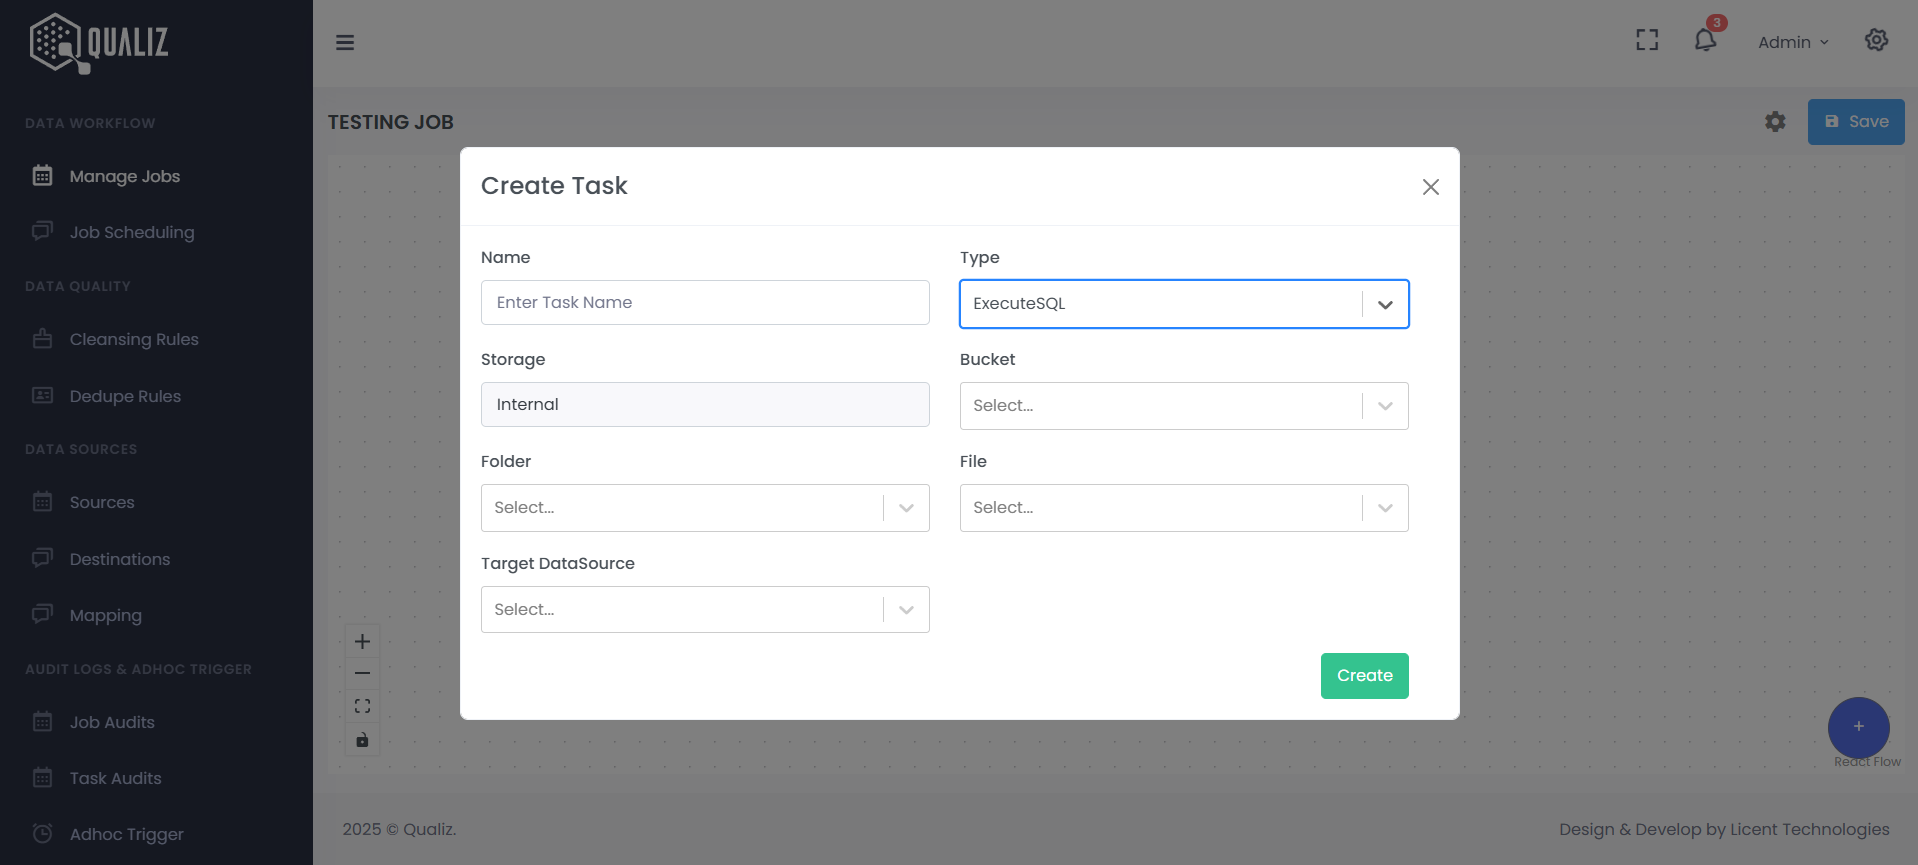
By clicking "Create" button to import the task to the editor.
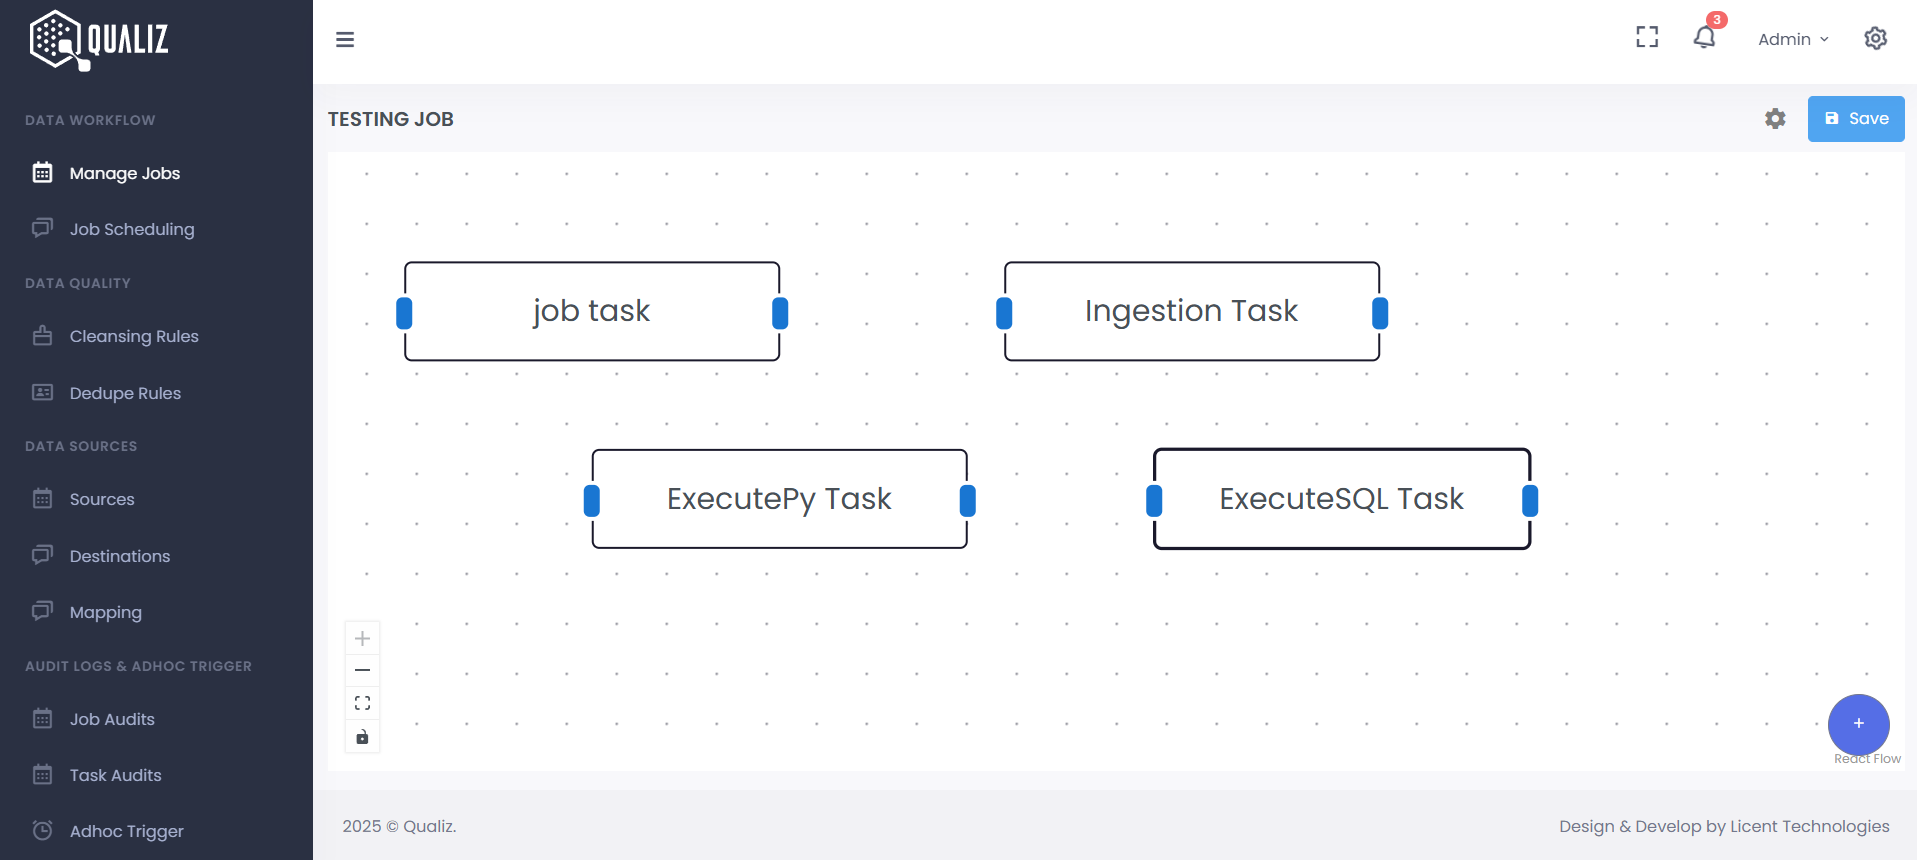
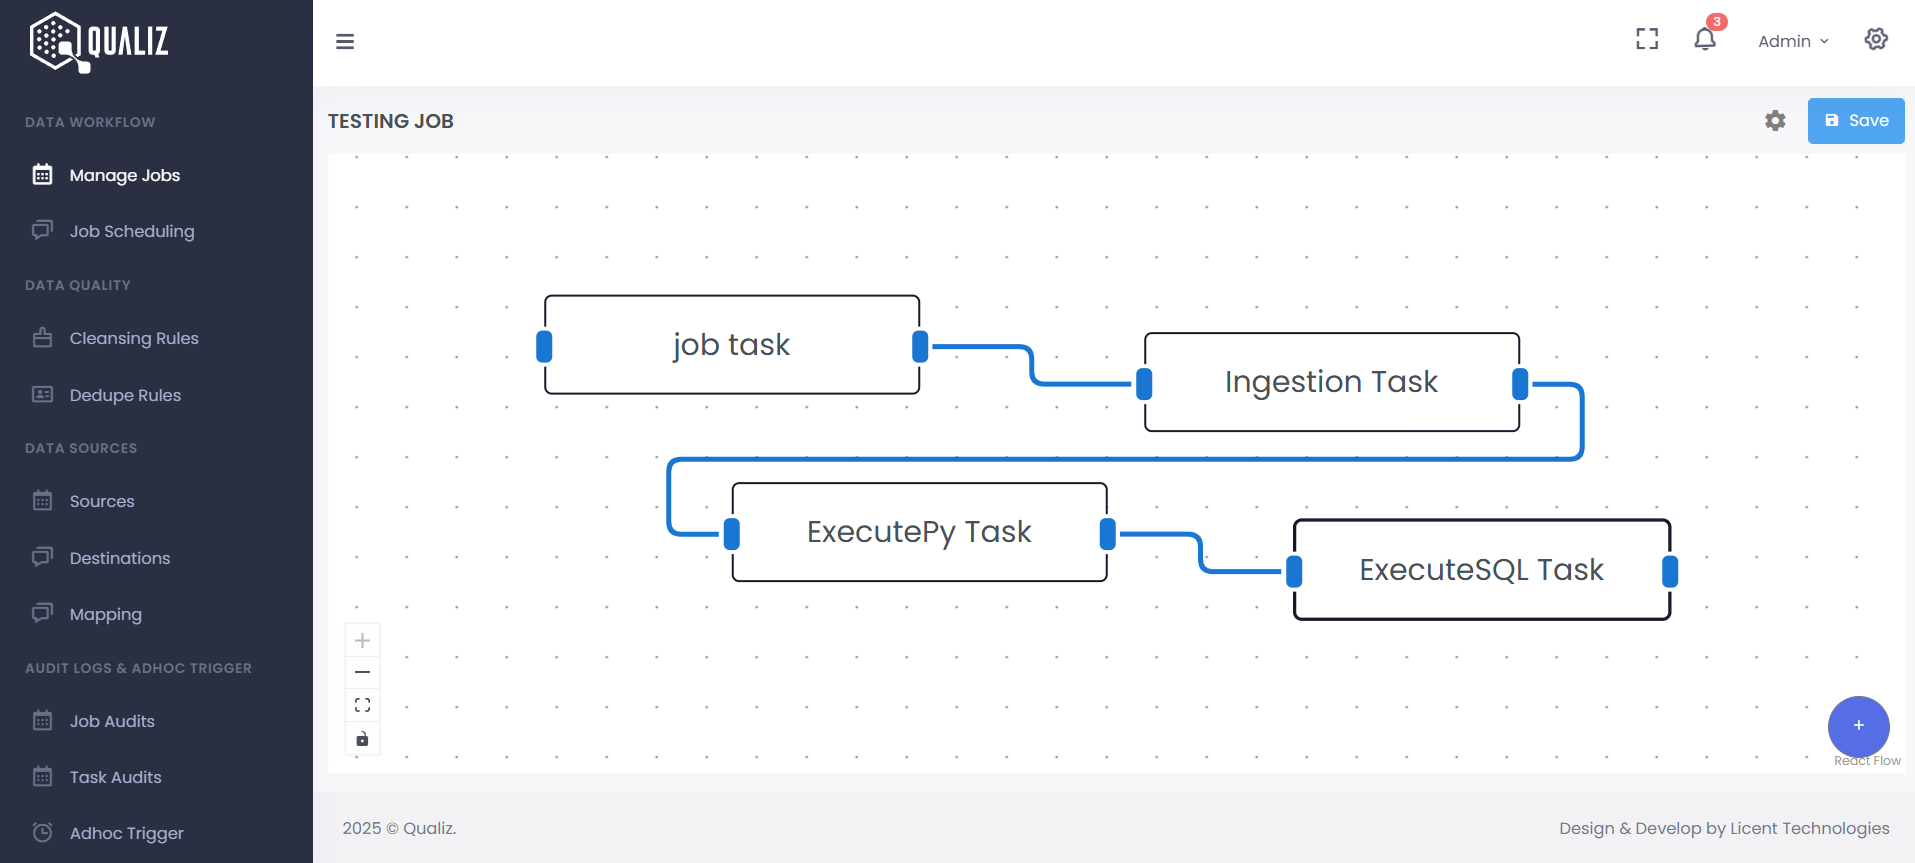
Building Your Workflow
- Add all required tasks by clicking the "+" button and configuring each one
- Connect your tasks to create a logical flow:
- Click and drag from the blue connection handle of one task to another
- This creates directional arrows showing the workflow sequence
- Example flow: Ingest data → Transform with Python → Run SQL queries
- Rearrange tasks by dragging them to new positions as needed
- Configure task dependencies to control execution order and handling
Saving and Finalizing Your Job
- Click the "Save" button to create and store your job
- Mode: Manual (requires manual triggering)
- Status: Active (ready to be executed)
Note that your job will be created with these default settings: